Unboxing our Hapstone Pro R2 Standard Knife Sharpener
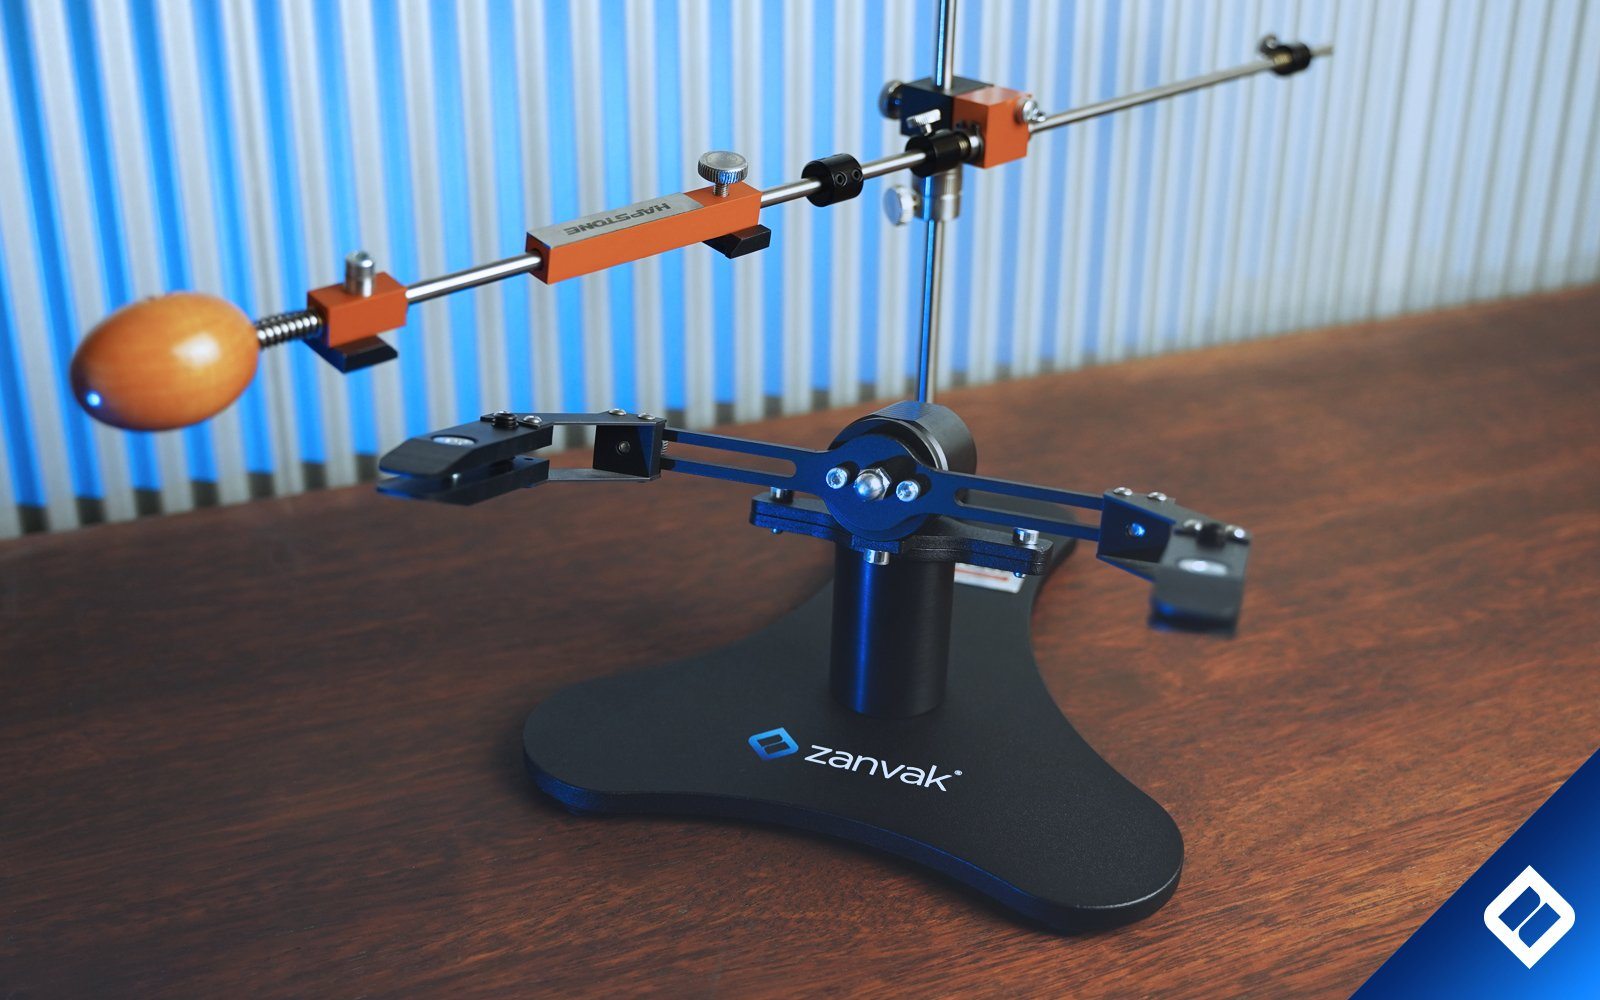
We received our Hapstone Pro Knife Sharpener and thought it would be great to show you how the R2 system comes packaged and the key components of the system.

We are presented with a rigid brown shipping box with Hapstone branded packing tape.
Shipping box:

Once the shipping box is opened up we are presented with a lifestyle image of the system printed onto the sleeve that covers the internal box.

Its easy to slide the internal box out of the sleeve and then we are greeted with a Hapstone Pro branded white box with Hapstone logos on the outside.

Once we cut open the box we are presented with smaller boxes with number on them numbered 1-4.


After removing the numbered boxes we start with box #1


Inside box #1 we find the steel base wrapped in Hapstone branded wrapping paper and also a smaller box containing the riser that supports the modular systems, finally there is an Allen key for mounting the riser to the base.


Box #2 contains the guide rod, Stone holder, Pivot bearing unit and the vertical rod for the base.


The stone holder is made of what appears to be a steel rod and anodized aluminium with a wooden handle for holding on to.


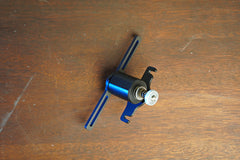
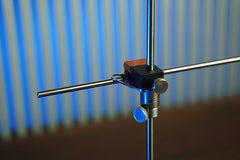
The pivot has two sections, Black section mounts to the vertical rod with a thumb screw and the Orange section contains the bearing for smooth guide rod operation.

On the back for the pivot is a hook for parking the guide rod when not in use, this is a simple part of the system but it makes the sharpening process more enjoyable.


Box #3 presents us with the 360 degree rotating module, this is the core part of the R2 Hapstone Pro Knife Sharpener system.


The accessory clamps mount to the front of the module and allow you to clamp various blades.

The 360 degree rotating module uses a detent with a roller bearing to turn smoothly, the detent tension can be adjusted to a desired rate using the turn knob on the back of the module, this applies extra pressure on the bearing to hold it in place, this then requires more force to rotate the blade.


Box #4 contains our knife clamps, these are made from spring steel and machined to shape.


These clamps can be mounted inwards or outwards depending on the blade that you wish to clamp, the benefit of this clamp type is that it allows for better clamping of full flat ground blades as the jaws actually pivot to clamp the blade.

To clamp a blade just open the jaws so the spine slides in then use the rear adjusting grub screw to apply leverage against the blade, this creates a secure grip on the spine, with no risk of the knife coming loose.
There are two boxes with no numbers on them, these contain the Micro tuning adjuster which comes standard with the R2 Classic models and is an optional upgrade on all other models, and finally the two spring stoppers for the guide rod.


The spring assisted stoppers prevent the guide rod from smashing into the bearing housing


ASSEMBLY
To begin assembling we start with the steel Hapstone base and vertical riser, remove the screws from the base of the riser and then feed them from underneath the base, face the riser so it leans back towards the back of the system.


Feed the vertical rod up through the rear hole and secure in place with the stopper.


Slide the micro tuning adaptor down the rod and lock in place, then slide the pivot unit onto the vertical rod with the guide rod paring tool facing downwards as this can be accidently installed upside down.


To install the 360 degree Hapstone Pro module loosen the two Allen key bolts on the top side of the vertical riser.


Slide in the module to the matching slots and retighten the Allen key bolts to secure.


Connect the two parts of the guide rod with the supplied small Allen key to form the complete guide rod and stone carrier


Insert the guide rod into the pivot bearing and park it using the parking tool.

Fitting the supplied Hapstone Pro clamps are easy to attach to the 360 cross bar, simply loosen and remove the screw and washer from the rear of the clamp then sandwich the clamp and screw between the cross bar and tighten them back together.


Repeat the process and install the second clamp in the desired orientation depending on the blade of choice.

The Hapstone Pro Sharpening System is now ready to put impressively sharp edges on all of your blades.
Fitting a stone to the system is easy using the spring loaded holder, simply pull back the tab closest to the handle and insert the stone with the face of the stone outwards, you will see the dovetail grooves also hold the stone in securely so it doesn't fall out while sharpening.


On the top of the guide rod is a metal strip that is used to mount the Digital Angle cube which is used to accurately measure the sharpening angle.
The base of the Angle cube has magnets that allow the cube to remain in place while adjusting the angle.

If you are trying to create more complex angle geometry when sharpening then adding a convex adaptor to the mix can greatly change a knifes dynamic, create bevels that are stronger and still maintain sharpness.


If you are in the market for a sharpening system that ticks all the boxes then the Hapstone R2 system is one to consider, Hapstone delivers quality, performance and accuracy in an affordable platform.
Get yours today HERE

